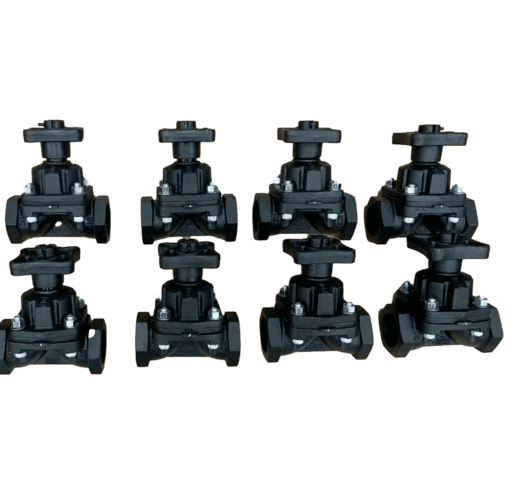
Install:
1 Applicable safety regulations must be complied with.
2 Ensure that the pipeline is free of impurities before the valve is installed, otherwise it will cause damage to the valve.
3 Connect the valve and pay attention to aligning with the pipeline.
4 For all valves, the actuator must be disassembled before welding on the valve body.
5 When replacing the diaphragm, it is necessary to maintain the open connection between the diaphragm and the sealing surface, and then separate the diaphragm from the sealing surface.

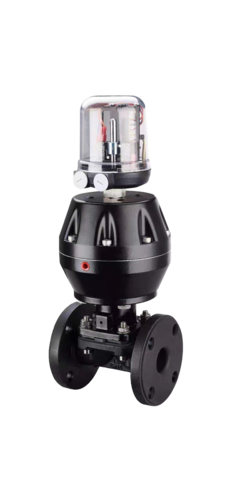
For Pneumatic open function valves:
1) Vent the actuator to lift the diaphragm away from the sealing surface.
2) Cross disassemble the four screws on the valve body to separate the actuator from the valve seat, cut off the air source, and replace the diaphragm.
3) Vent the actuator to retract the diaphragm.
4) Align the sealing surface of the diaphragm and the valve seat, cross-install the fixing screws, and repeat the ventilation activities several times.
5) After closing the diaphragm valve for leak testing, it can be used normally.
For Pneumatic close function valves:
1) Cut off the air source of the actuator and lift the diaphragm away from the sealing surface.
2) Cross disassemble the four screws on the valve body to separate the actuator from the valve seat, ventilate, and replace the diaphragm.
3) When the diaphragm is stowed, align the diaphragm and the sealing surface on the valve seat, and install the fixing screws crosswise.
4) Repeated ventilating activities several times, after closing the diaphragm valve for leak testing, it can be used normally.
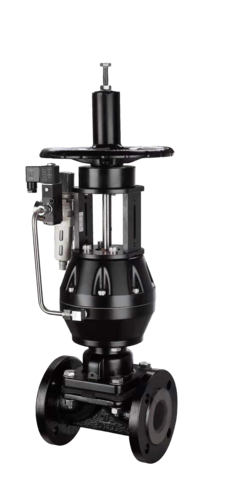
For double-acting function valves:
1) Cut off the air source and lift the diaphragm away from the sealing surface.
2) Cross disassemble the four screws on the valve body to separate the actuator from the valve seat, cut off the air source of the lower cylinder, inflate the upper cylinder, and replace the diaphragm.
3) Inflate the lower cylinder to retract the diaphragm.
4) Align the sealing surface of the diaphragm and the valve seat, cross-install the fixing screws, and repeat the ventilation activities several times.
5) After closing the diaphragm valve for leak testing, it can be used normally.
The rubber surface is flat and smooth without any manual lining stitching mouth, resistant to media erosion.
We adopt precoated sand casting process to get raw casting, which make sure better surface of raw casting, and better surface of finish products.
The internal cavity is of full diameter design, Smooth flow path and low flow resistance, It has great flow capacity, It is suitable for the medium with high concentration of coarse fiber and more suspended particles.
Diaphragm and valve body lining materials are made of corrosion resistant materials with superior corrosion resistance according to customer requirements