Your diaphragm valves are critical, but unexpected downtime can cripple operations. A single failure means lost production and costly emergency repairs. Simple maintenance can prevent these headaches and extend valve life.
To keep your diaphragm valves running for years, you must perform regular inspections, replace components on a schedule1, keep them clean, and maintain detailed records. These steps prevent leaks2, blockages3, and mechanical failures4, ensuring reliable, long-term performance for your system.
I’ve been in the valve business for a long time, and I’ve seen it all. The clients who get the most value from their investment are always the ones who take maintenance seriously. It doesn't have to be complicated. A little bit of attention goes a long way in preventing a major shutdown. Let's walk through the essential steps that my most successful partners follow. These tips will help you keep your process running smoothly and protect your bottom line.
How Can Regular Checks Prevent Major Valve Failures?
Small, unnoticed issues can quickly turn into major system failures. A tiny crack in a diaphragm can lead to a full-blown leak, contaminating your process. A routine inspection schedule5 is your best defense.
Regular checks prevent major failures by catching wear, leaks, and operational issues early. Inspecting the diaphragm, checking for smooth operation, and monitoring flow rates allow for proactive repairs before a small problem becomes a costly shutdown.
When we talk about regular checks, we're talking about simple, proactive steps. I remember a client in the chemical industry who started noticing a slight drop in flow rate. It wasn't drastic, but it was consistent. Instead of ignoring it, they scheduled a quick inspection. They found a small tear forming in the diaphragm, likely due to a particularly corrosive batch of chemicals. By catching it early, they replaced a single part during scheduled downtime. If they had waited, the diaphragm would have ruptured, causing a significant leak, lost product, and an emergency shutdown. This is why a simple checklist is so powerful. It turns you from a reactive firefighter into a proactive manager of your assets.
Key Inspection Points
| Check Point | What to Look For | Why It Matters |
|---|---|---|
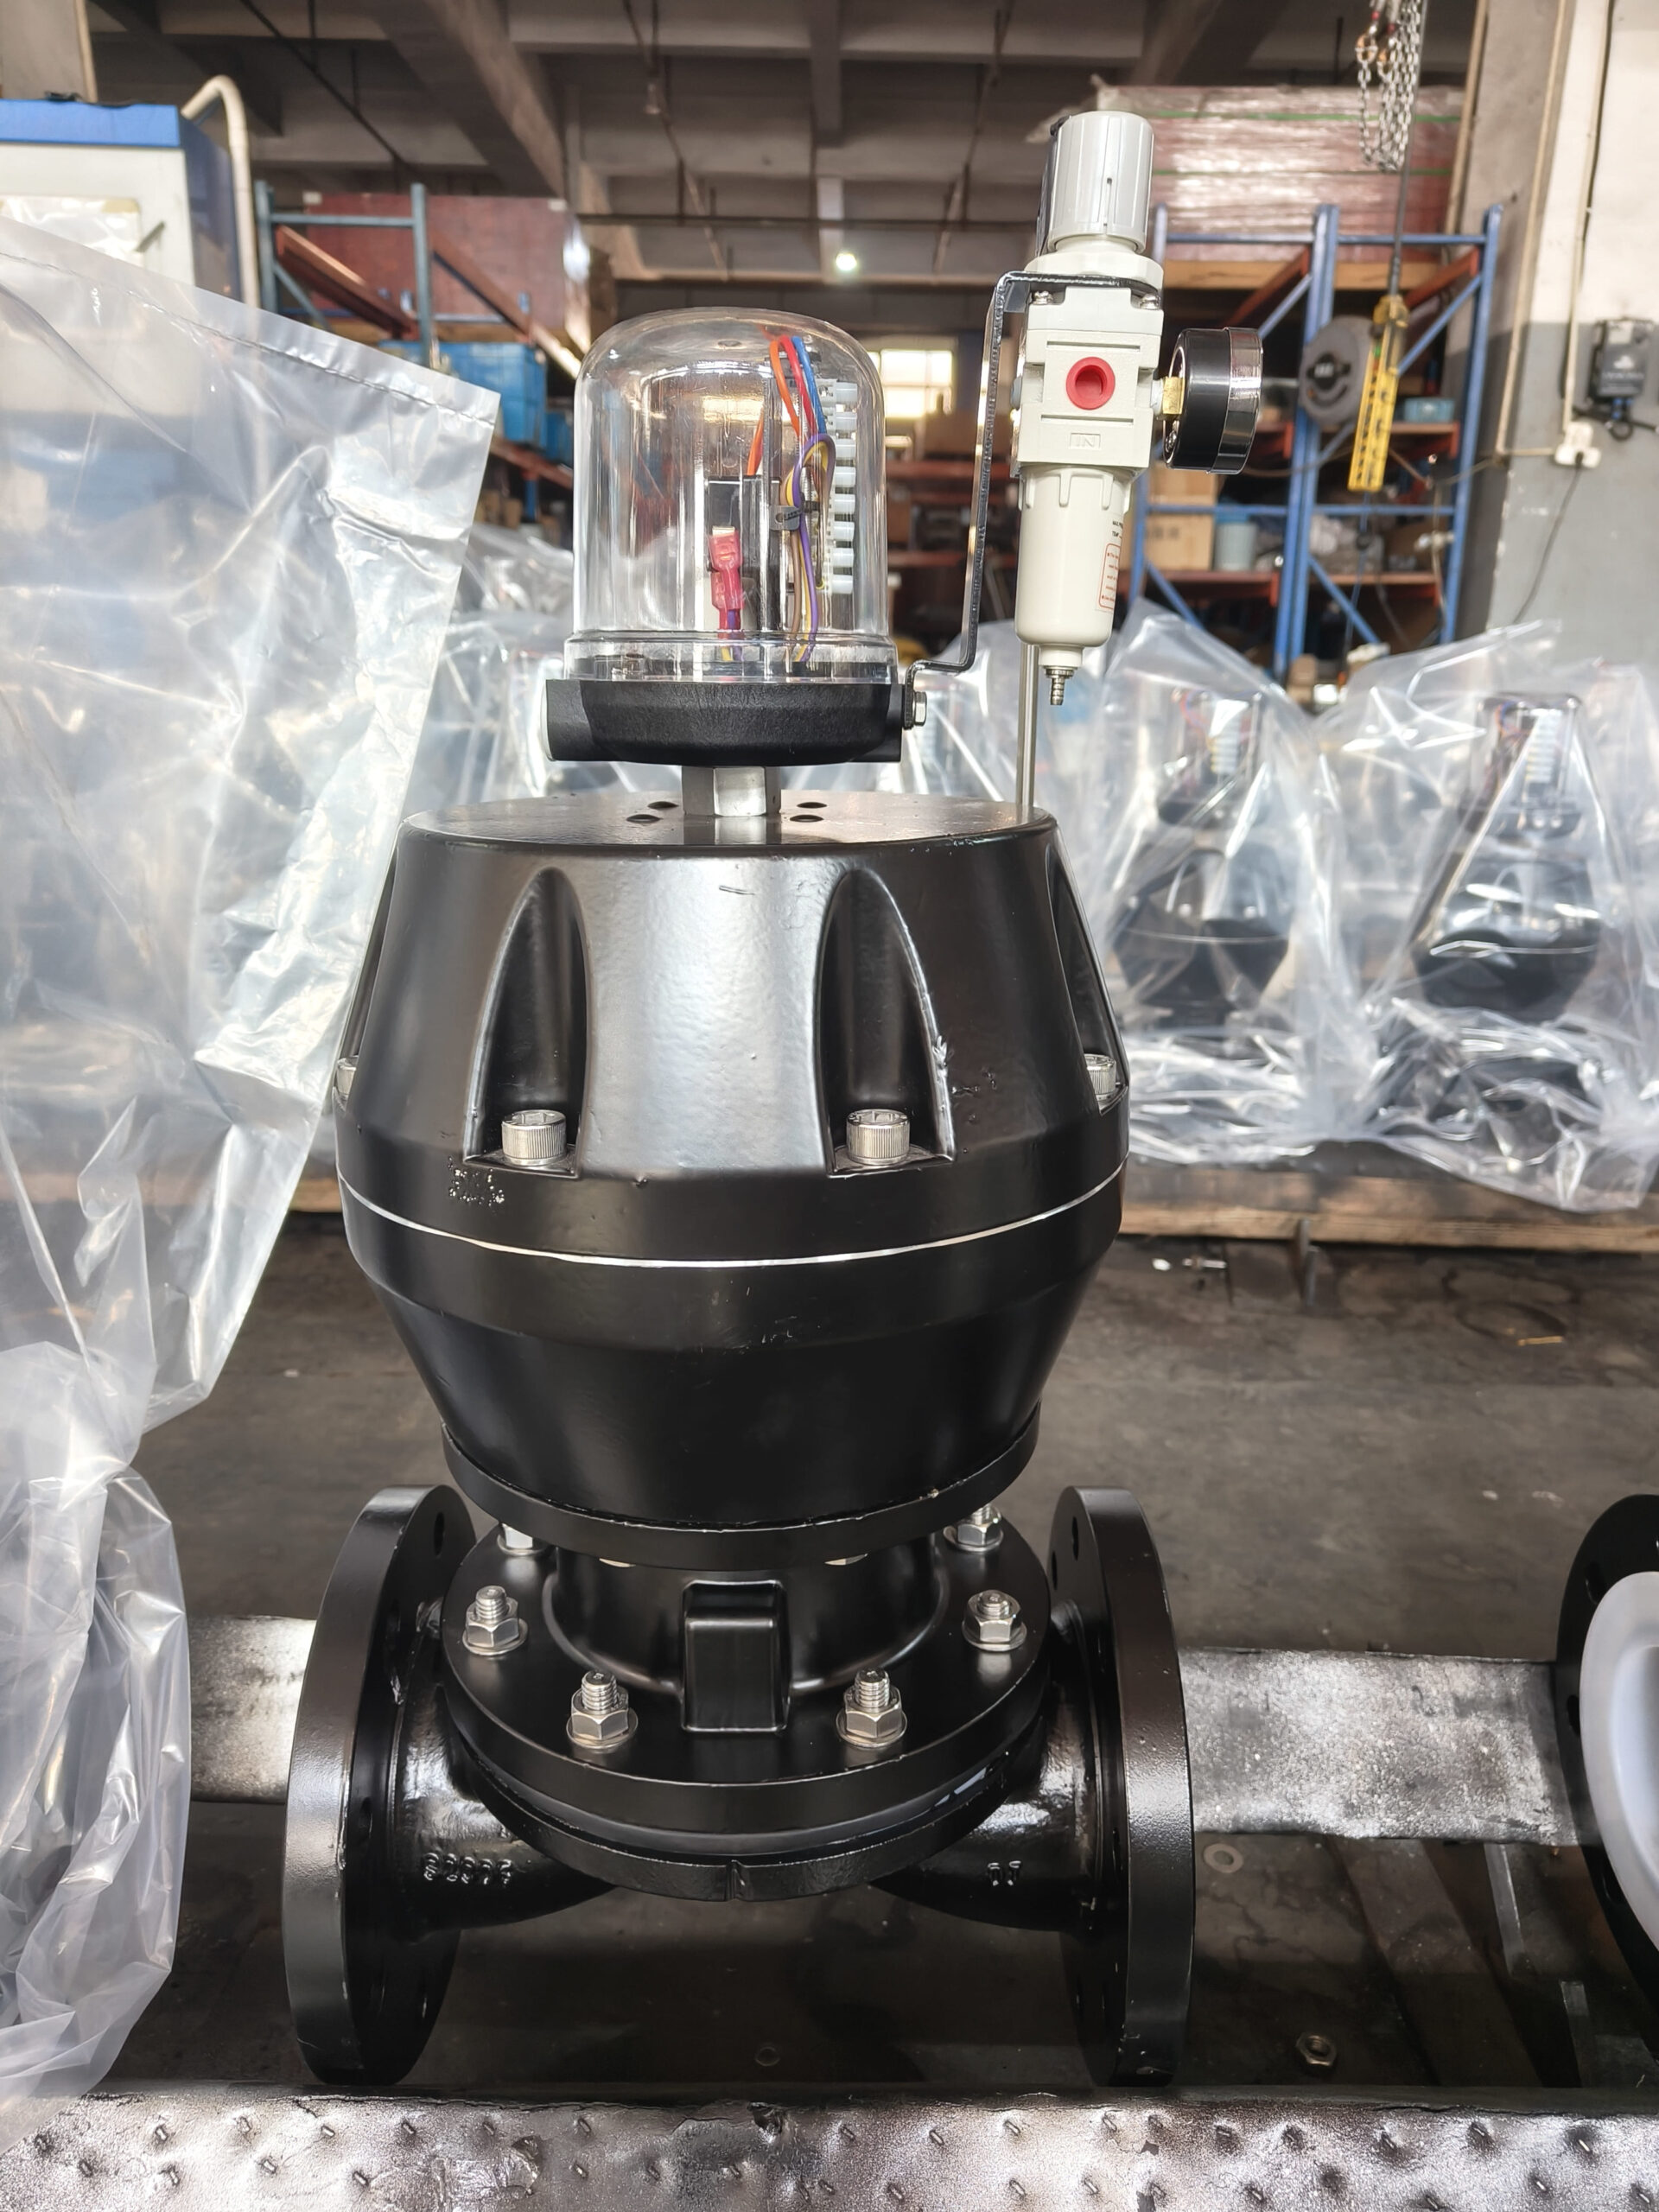
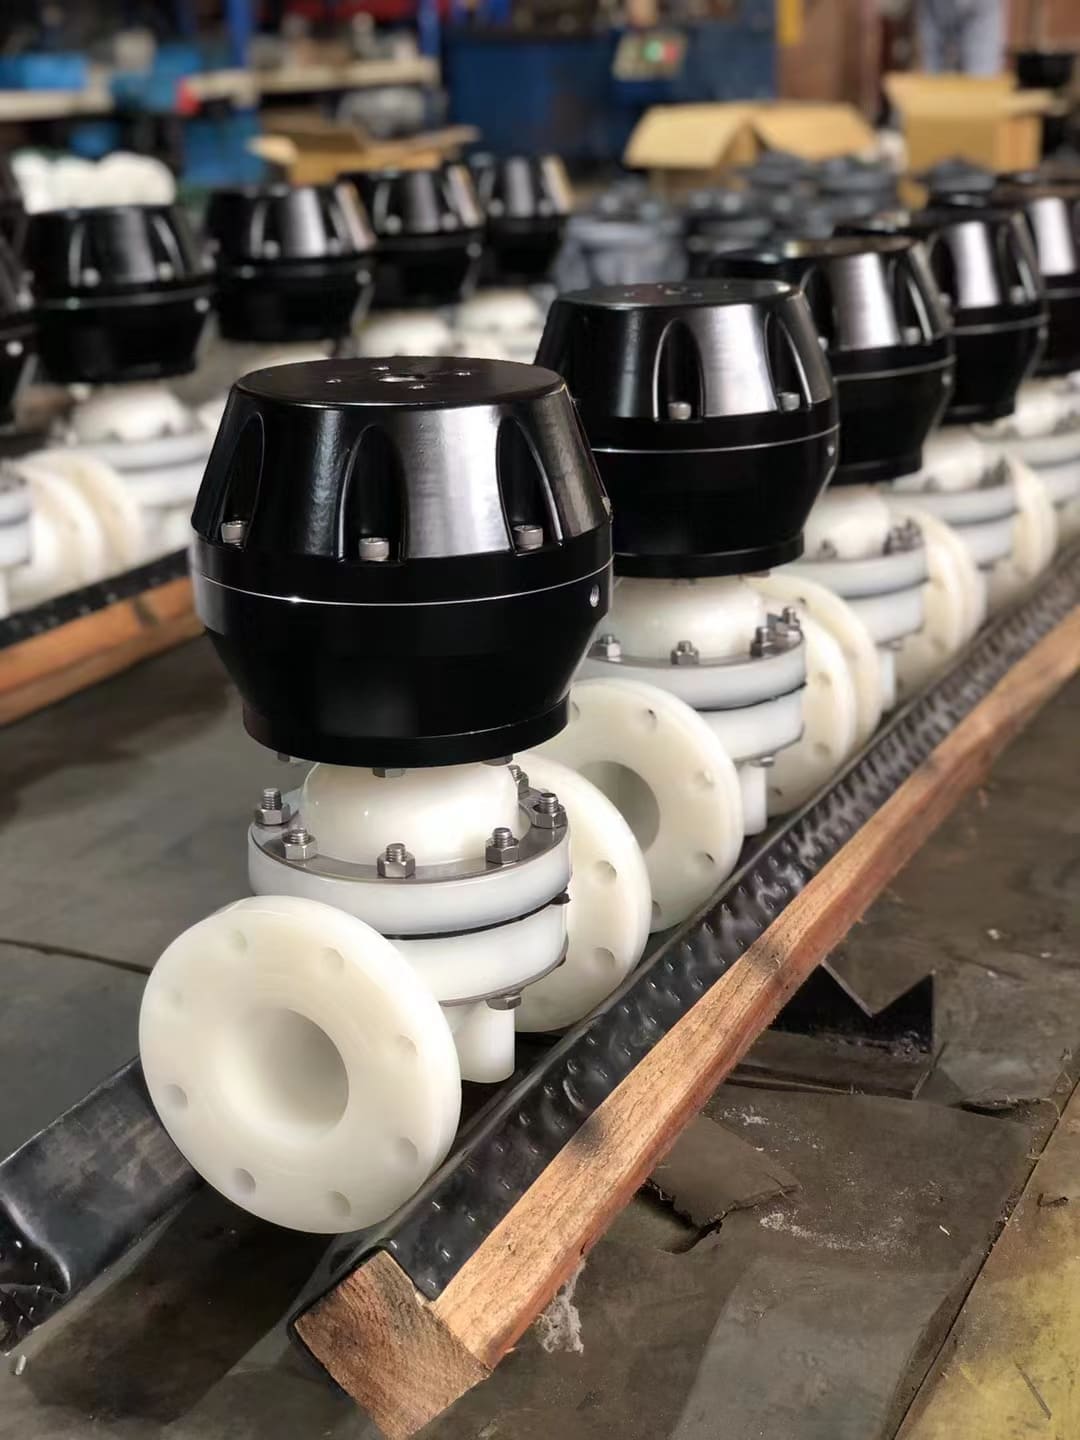
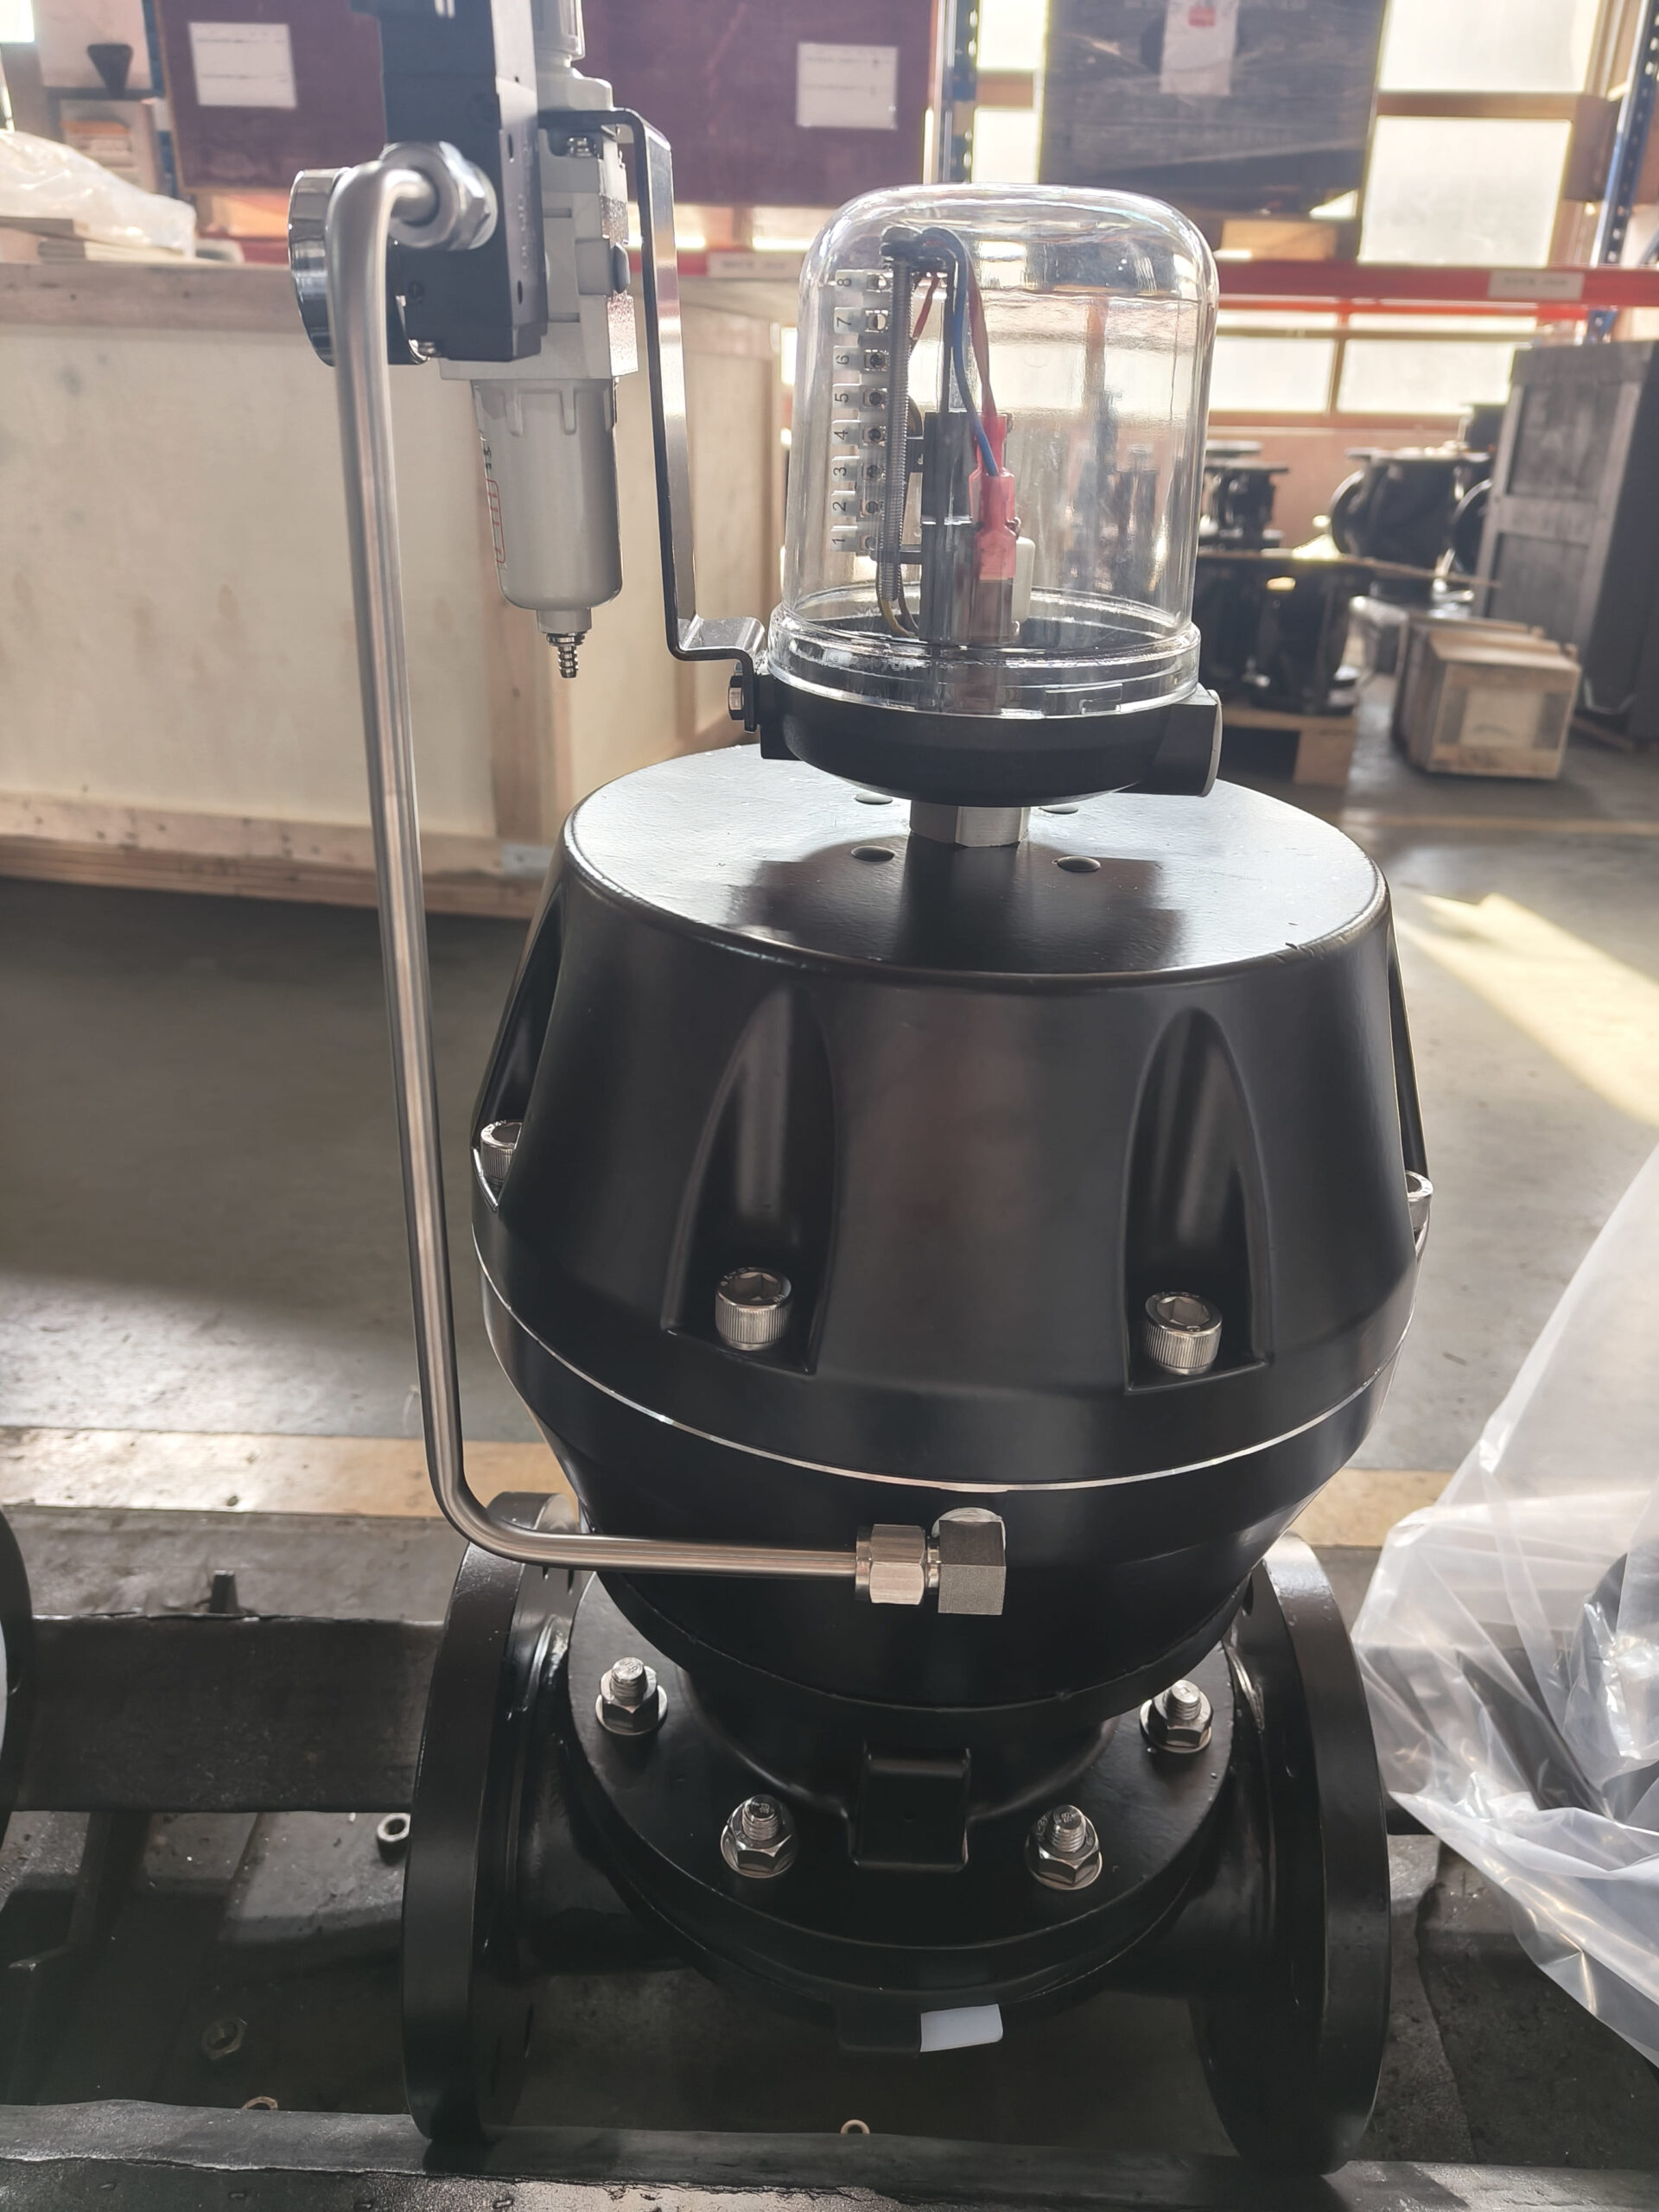
| Diaphragm Integrity6 | Cracks, tears, discoloration, or blistering. | This is the most critical component. Any damage can lead to leaks and complete valve failure. |
| Valve Operation | Sticking, binding, or excessive force needed to operate. | Smooth operation indicates good internal health. Resistance can mean buildup7 or mechanical wear. |
| Sealing Surfaces8 | Any signs of leakage around the bonnet or flanges. | A leak, no matter how small, is a sign of a failing seal or an improperly installed diaphragm. |
| Flow Rate9 | Any unexplained drops or fluctuations in system flow. | Changes in flow can be the first sign of an internal blockage or a partially ruptured diaphragm. |
Why Are Cleaning and Lubrication10 So Important for Valve Health?
You might assume your valves are clean on the inside, but buildup7 is always happening. This buildup7 can restrict flow, contaminate your product, and eventually cause the valve to seize up completely.
Cleaning prevents buildup7 that can block flow and cause operational issues, while lubrication reduces friction11 on moving parts like the stem. Together, they ensure smooth operation, prevent premature wear, and extend the valve's service life.
It’s easy to forget about the parts you can’t see. A wastewater treatment plant we supply learned this the hard way. They were having issues with a valve that was difficult to turn. Their team assumed it was a mechanical failure. When they finally disassembled it, they found a thick layer of sludge and scale caked onto the valve body's interior and weir. The buildup7 was creating so much resistance that the diaphragm couldn't seat properly. A regular cleaning schedule would have prevented this entirely. Likewise, lubrication is just as crucial. The stem needs to move freely. Without the right lubricant, friction will cause wear and make the valve hard to operate, whether it's manual or pneumatic. It’s a simple two-step process: keep it clean on the inside and keep it lubricated on the outside.
Best Practices for Cleaning and Lubrication10
-
Cleaning: Always use cleaning agents that are safe for your valve's materials. For our valves with PFA or PTFE linings, avoid abrasive tools that could scratch the surface. For EPDM or NBR rubber linings, use mild detergents and stay away from harsh solvents that could cause the rubber to degrade. After cleaning, make sure every component is completely dry before you put it back together. Trapped moisture can cause problems down the line.
-
Lubrication: Only use the lubricant recommended by the manufacturer. This is critical. Using the wrong type, like a petroleum-based grease on an EPDM rubber part, can cause the material to swell and fail prematurely. Apply a light coat of the proper lubricant to the valve stem and any actuator threads. This simple step reduces operating effort and protects against corrosion.
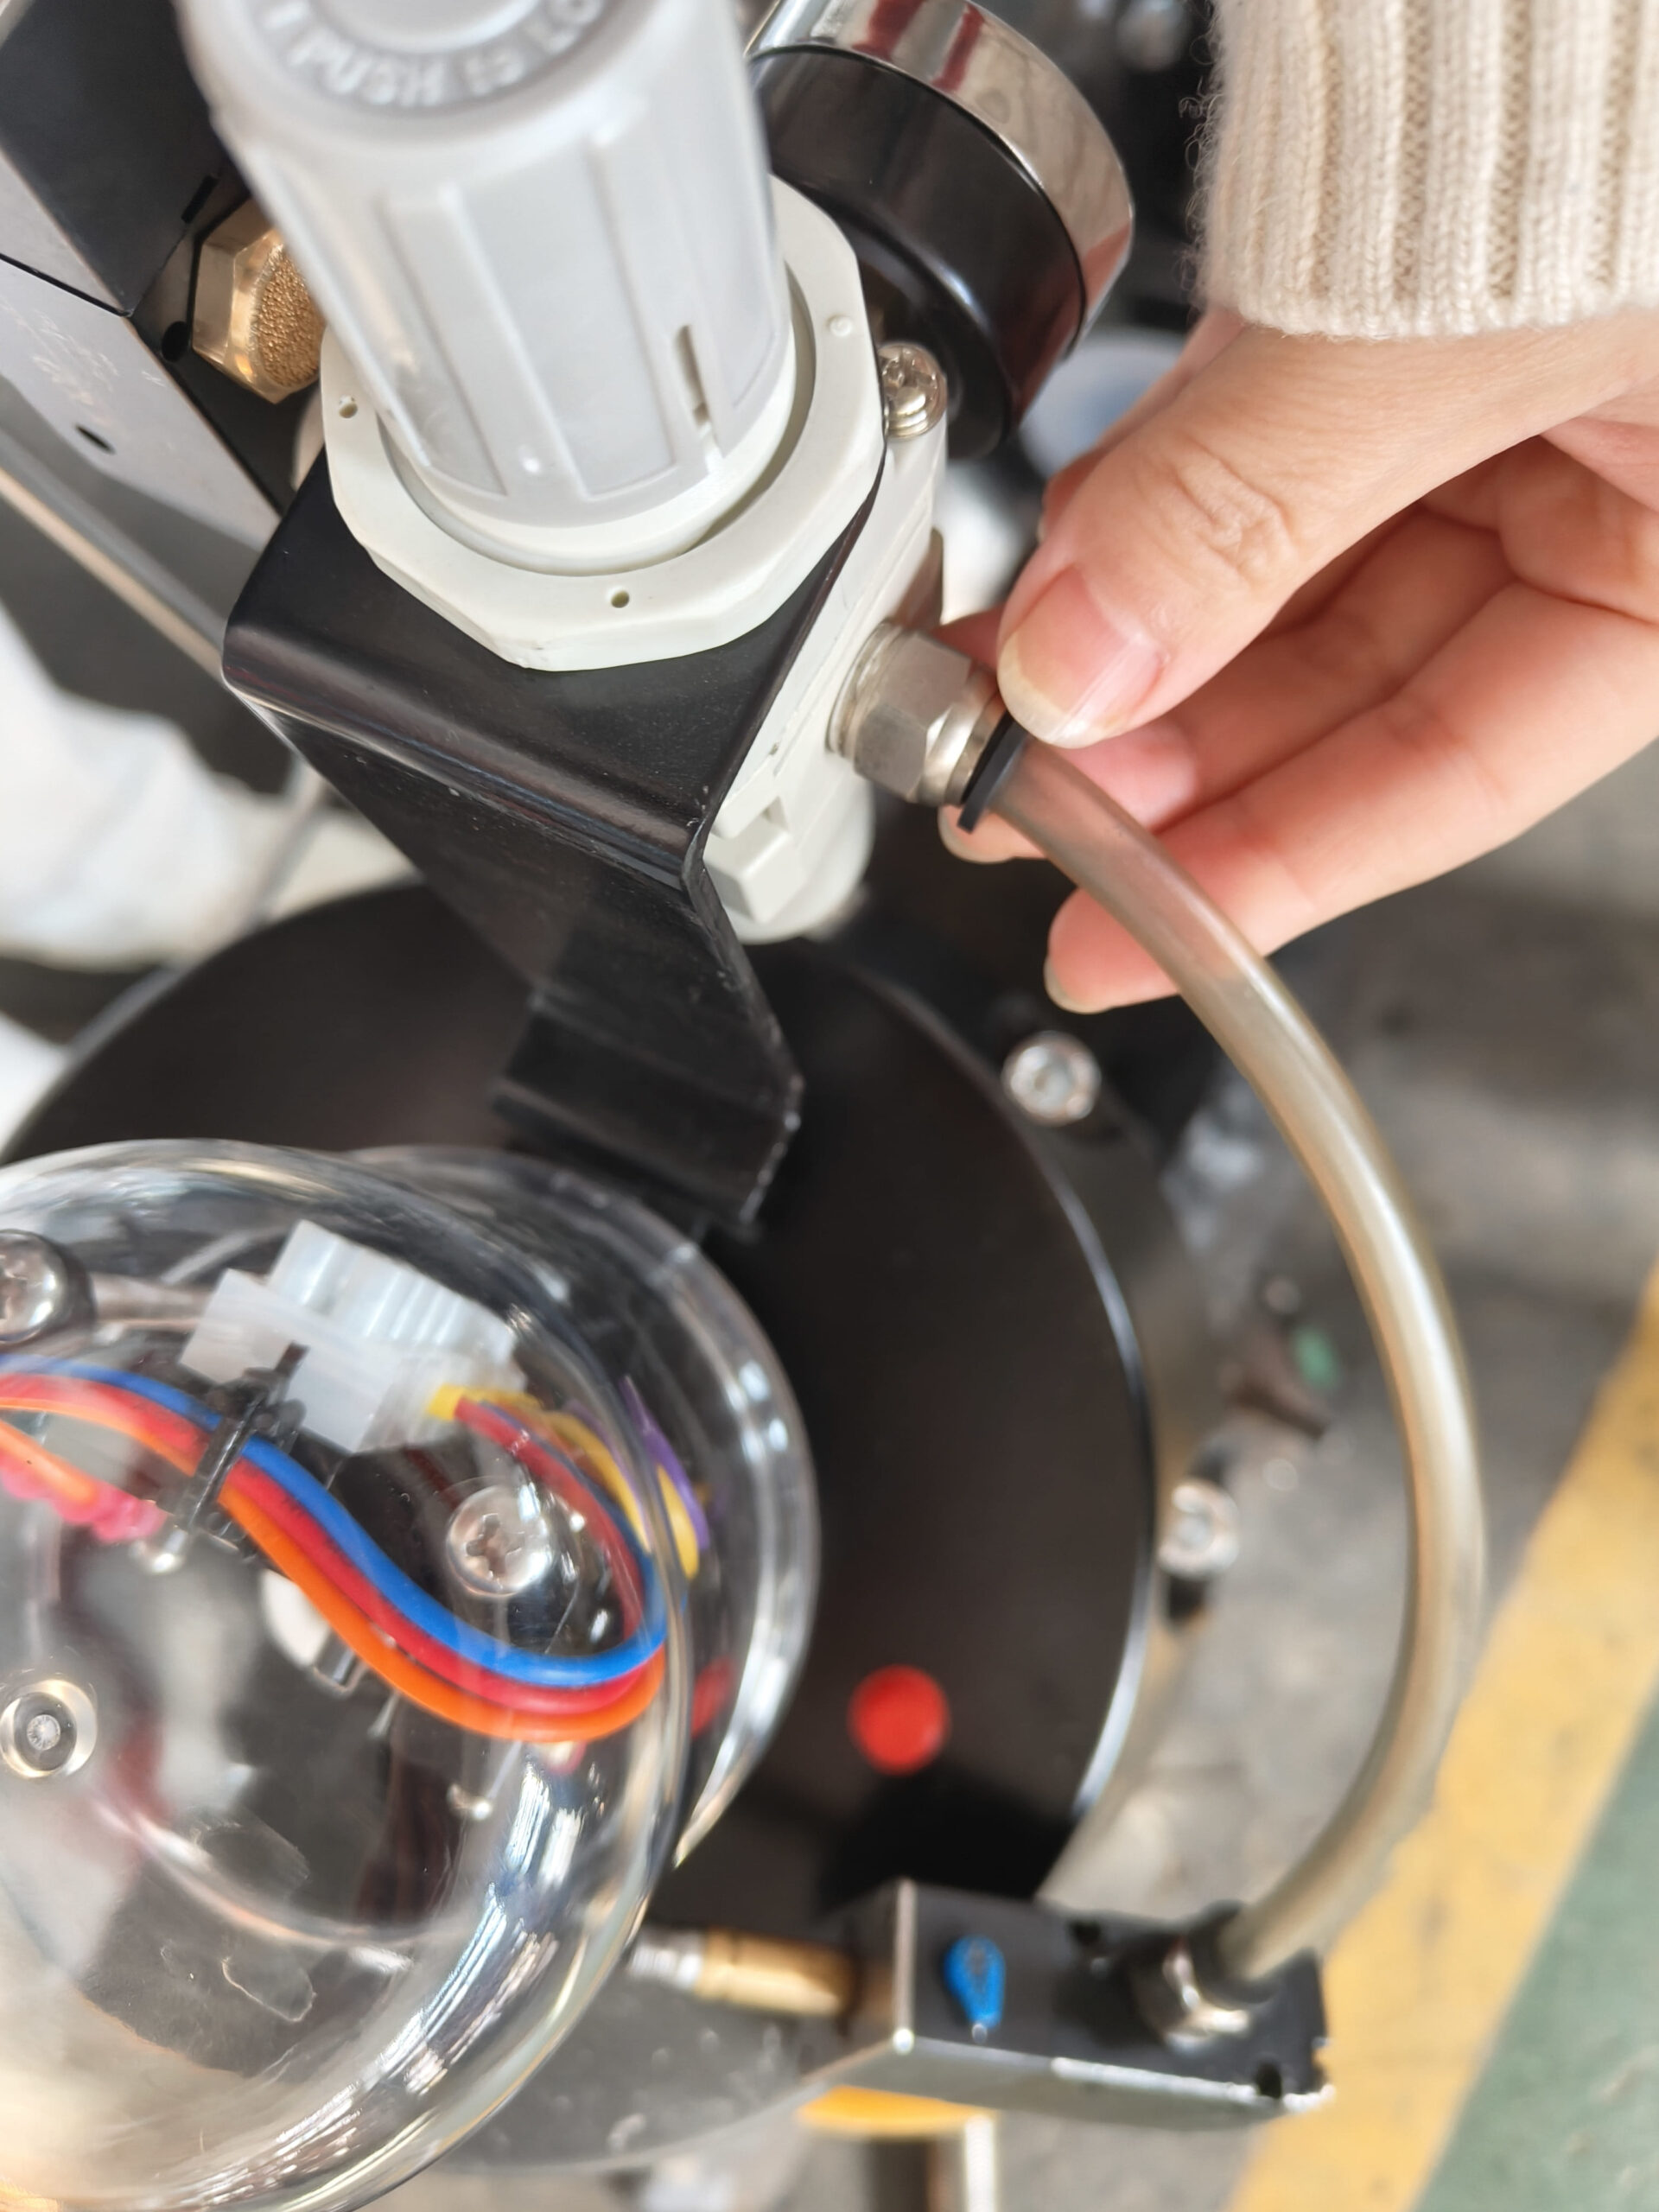
When Should You Replace Parts and What Tools Should You Use?
Waiting for a part to fail completely is a reactive and costly strategy. And if you use the wrong tool for the repair, you can damage a brand-new part during installation, wasting time and money.
You should replace parts like diaphragms and seals based on a regular maintenance schedule, even without visible damage, to prevent unexpected failures. Always use manufacturer-recommended tools12 to avoid damaging components, which could cause leaks.
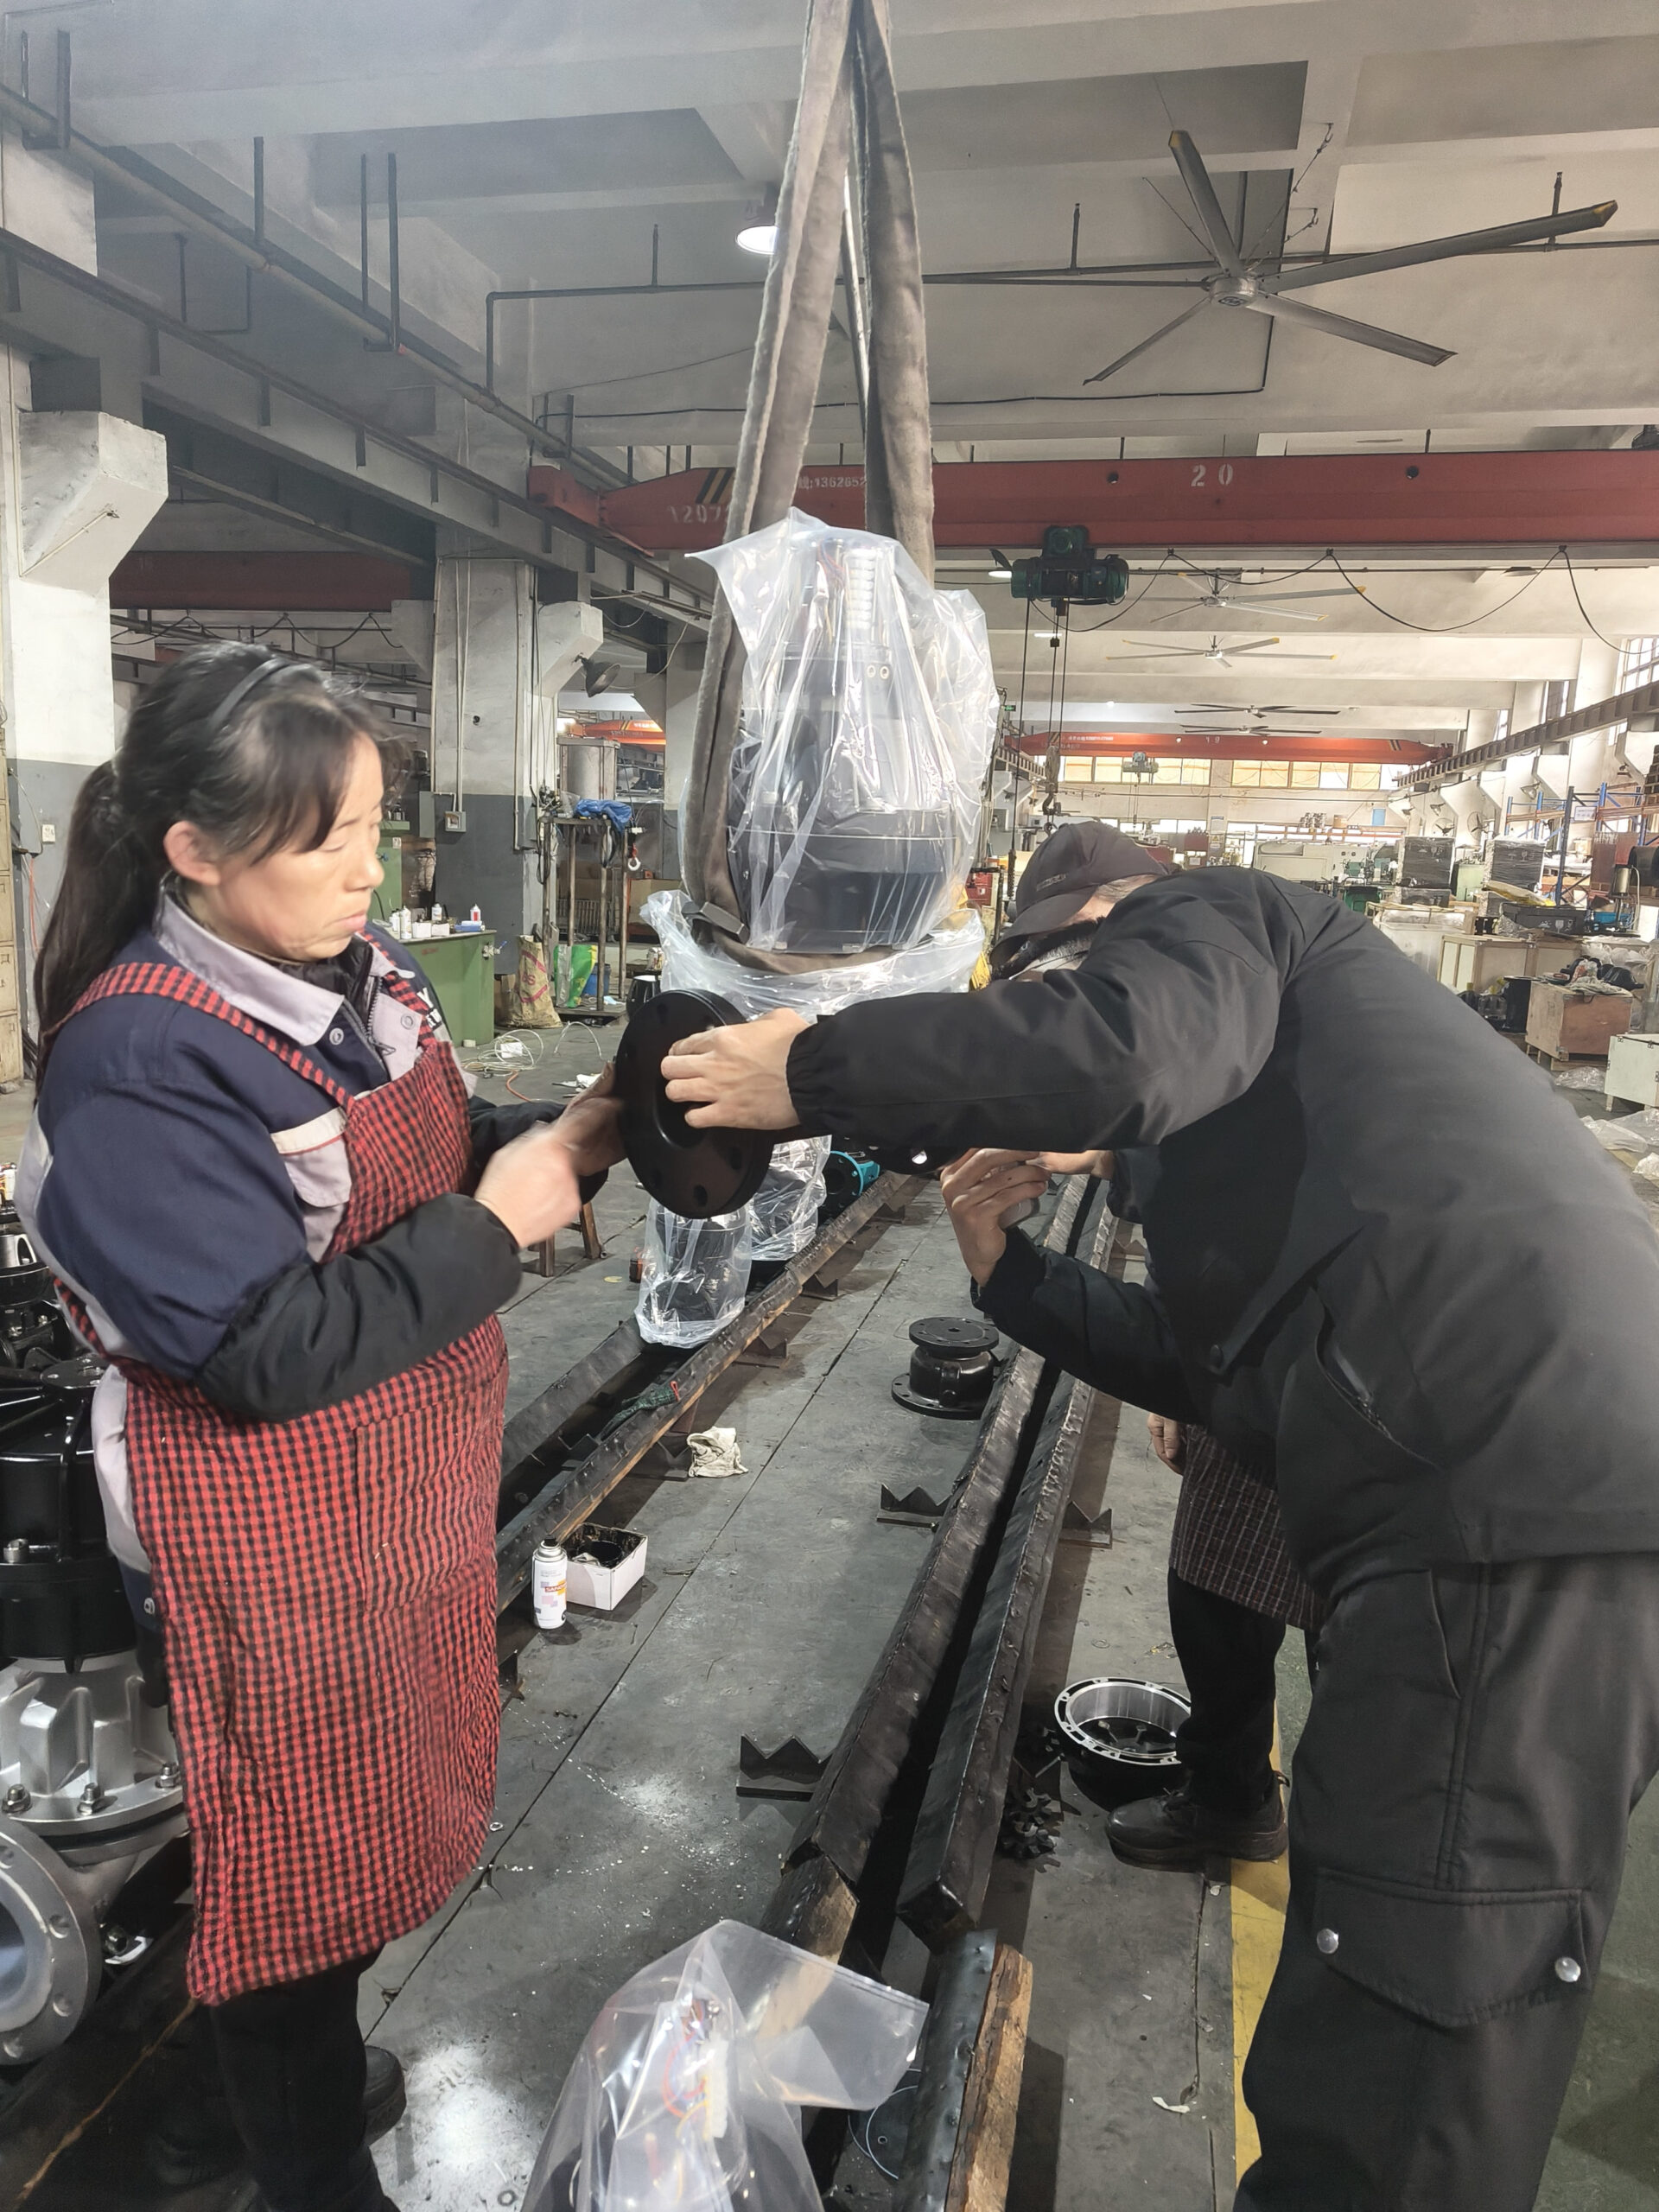
Proactive replacement is a game-changer. A diaphragm is a wearing part, just like the tires on a car. You don't wait for a blowout on the highway to replace them. The same logic applies here. Based on your operating conditions—the type of fluid, temperature, and pressure—you should have a schedule for replacing the diaphragm. This prevents unexpected failures. Just as important is using the right tools. I once visited a site where a maintenance team had used a large pipe wrench to tighten the bonnet bolts. They had overtightened one side, pinching and tearing the new diaphragm they just installed. The valve leaked immediately. A simple torque wrench would have allowed them to apply even pressure, ensuring a perfect seal. Using the right tools isn't about being fancy; it's about doing the job right the first time.
Replacement Schedule and Tool Guide
| Application | Media | Recommended Diaphragm Replacement |
|---|---|---|
| Chemical Plant | Corrosive Acids/Alkalis | Every 12-18 months |
| Power Plant | Abrasive Slurries | Every 6-12 months |
| Wastewater Treatment | Water, Sludge, Chemicals | Every 18-24 months |
When performing maintenance, always use the correct tools to protect your investment.
- Torque Wrench: Essential for tightening bonnet bolts evenly to the specified torque. This ensures a leak-free seal without damaging the diaphragm.
- Spanner/Socket Wrench: Use the correct size for bolts to avoid stripping the heads.
- Soft Mallet: If gentle persuasion is needed to separate parts, a soft mallet prevents damage to the valve body or coating.
- Strap Wrench: For unscrewing parts without scratching or denting finished surfaces.
How Do Actuator Alignment and Maintenance Logs Boost Performance?
A perfectly good valve can fail if the actuator isn't working correctly. And if you don't track your maintenance, you're doomed to repeat past mistakes and troubleshoot problems from scratch every single time.
Correct actuator alignment ensures the valve opens and closes properly, preventing uneven wear on the diaphragm and stem. Maintenance logs13 help you track the valve's history, identify recurring issues, and plan future work, ensuring long-term reliability.
Think of the actuator as the brain and the valve as the body. If they aren't communicating perfectly, things go wrong. A misaligned actuator, whether it's a manual handwheel or a pneumatic unit, puts uneven force on the valve stem. This side-loading causes the stem to wear out prematurely and can even tear the center of the diaphragm. It also prevents the valve from closing 100%, leading to a persistent leak. Just as crucial is keeping a record of what you've done. I work with many procurement managers and business owners. The ones who can accurately predict their maintenance budget and troubleshoot fastest are the ones with detailed logs. When a problem occurs, their team can look at the log and see what was done last, which parts were used, and how long they lasted. It's an invaluable tool for continuous improvement.
A Simple System for Success
-
Actuator Check: Regularly confirm that the actuator is securely mounted and centered over the valve stem. When the valve is operated, watch the stem to ensure it moves straight up and down without any side-to-side wobble. For pneumatic actuators, also check air lines for leaks and ensure the operating pressure is correct.
-
Maintenance Log: Keep a simple log for each critical valve. This doesn't need to be complicated. A basic spreadsheet or logbook will do.
| Date | Valve ID | Action Taken | Parts Used (Part No.) | Technician | Notes |
|---|---|---|---|---|---|
| 2024-10-26 | DV-101 | Routine Inspection | N/A | J. Smith | Smooth operation. No leaks. |
| 2024-11-15 | DV-205 | Diaphragm Replaced | Diaphragm EPDM-08 | A. Lee | Old diaphragm showed minor wear. |
| 2024-12-01 | DV-101 | Leak at Bonnet | Bonnet Gasket BG-08 | J. Smith | Retorqued bolts. Leak stopped. |
This simple record-keeping transforms maintenance from a chore into a powerful data-collection tool that supports reliability and smart purchasing decisions.
Conclusion
In short, proactive maintenance is the key to a long-lasting diaphragm valve. Regular checks, proper cleaning, timely part replacement, and good records will save you significant time and money.
Scheduled replacement prevents unexpected failures, ensuring continuous operation and reducing emergency repairs. ↩
Preventing leaks ensures system integrity, avoiding contamination and costly shutdowns. ↩
Understanding blockages helps in implementing preventive measures to ensure smooth flow and operation. ↩
Avoiding mechanical failures ensures reliable valve performance and reduces downtime. ↩
A well-planned inspection schedule helps catch issues early, preventing major system failures. ↩
Ensuring diaphragm integrity prevents leaks and valve failure, maintaining system reliability. ↩
Preventing buildup ensures smooth operation and prevents blockages, maintaining system efficiency. ↩
Proper sealing prevents leaks, ensuring system efficiency and preventing contamination. ↩
Monitoring flow rate helps detect early signs of blockages or diaphragm issues, preventing major failures. ↩
Proper cleaning and lubrication prevent buildup and reduce friction, extending valve life. ↩
Reducing friction through lubrication prevents wear and ensures smooth operation, extending valve life. ↩
Using the right tools prevents damage during maintenance, ensuring proper installation and operation. ↩
Keeping logs helps track history, identify issues, and plan future maintenance, ensuring reliability. ↩